Last Change: 15/03/2019 - Spok
Video guide:
http://w0.rz-berlin.mpg.de/mp4/kerioconnect_tbsync_o.mp4
Content (hide)
- 1. Step 0: Enable Menu-Bar in Thunderbird
- 2. Step 1: Install the "TbSync" core module
- 3. Step 2: Install the "TnSync" extension "Provider for CalDAV & CardDAV"
- 4. Step 3: Check that all required "add-ons" are installed and enabled
- 5. Step 4: Configure your KerioConnect account with the help of "TbSync"
- 6. Step 5: Check the configured KerioConnect calendars in lightning
- 7. Issues:
Configure your KeroConnect account with the "SyncTB + CALDAV/CardDAV extension"
Requirements: Thunderbird 32Bit and a active KerioConnect account
1. Step 0: Enable Menu-Bar in Thunderbird
1: Start "Thunderbird"
2: Right click a free field in the thunderbird bar
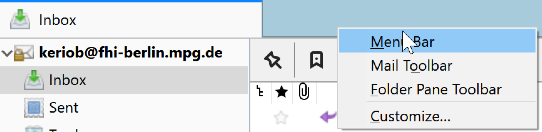
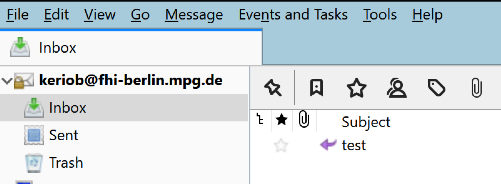
3. Mark "Menu Bar" to enable to help-full context menu-bar
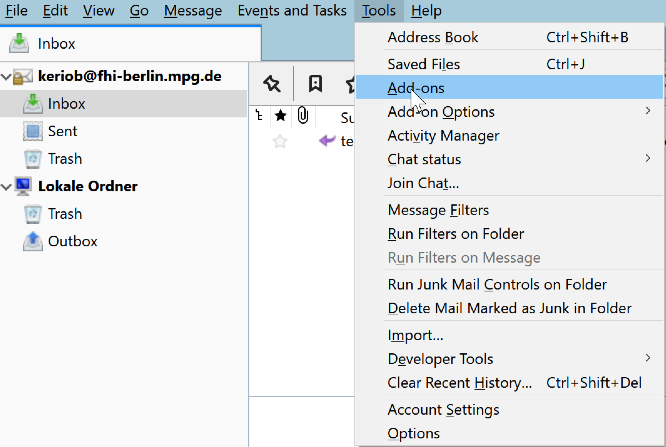
2. Step 1: Install the "TbSync" core module
1: Start "Thunderbird"
2: Select "Add-ons Manager" from the Tools Tab in Thunderbird
3: Search for "tbsync" in the search filed and hit "enter"

4: Select "TbSync" with "Add to Thunderbird
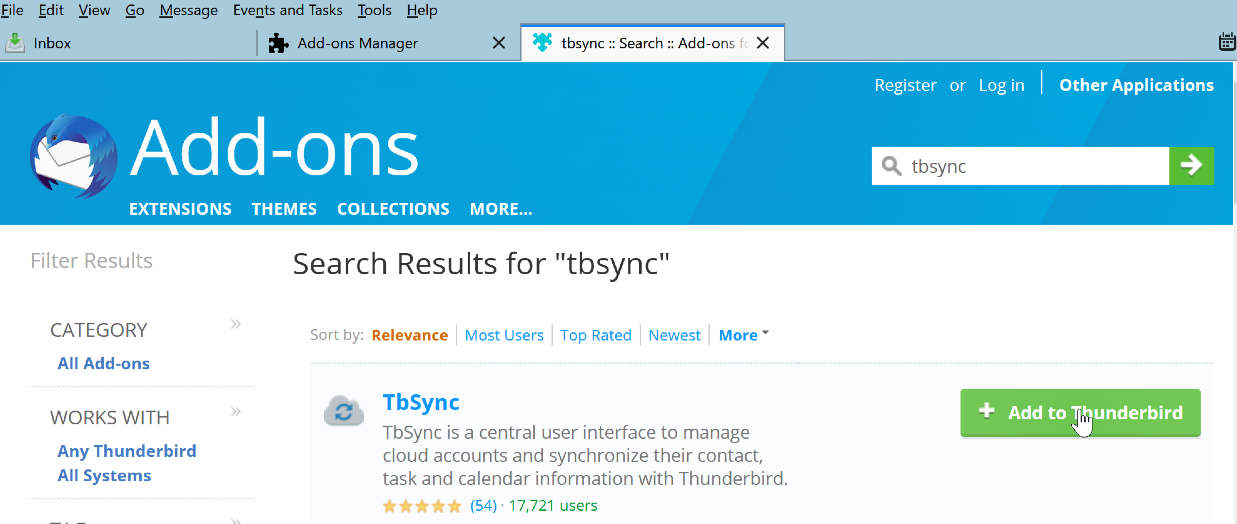
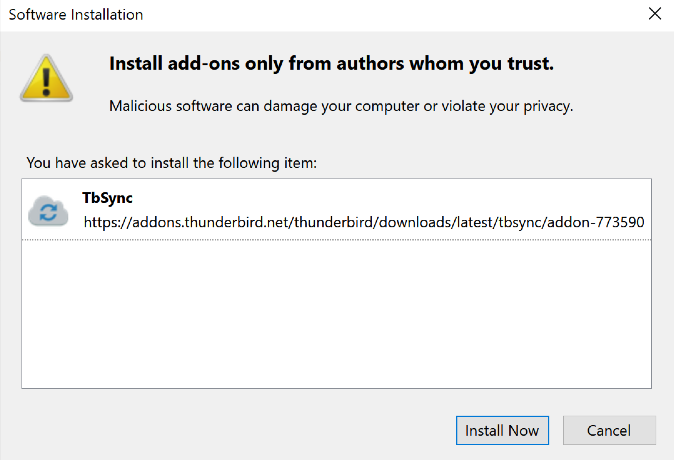
5: Wait and click on "Install Now"
3. Step 2: Install the "TnSync" extension "Provider for CalDAV & CardDAV"
1: Select "Add-ons Manager" in Thunderbird
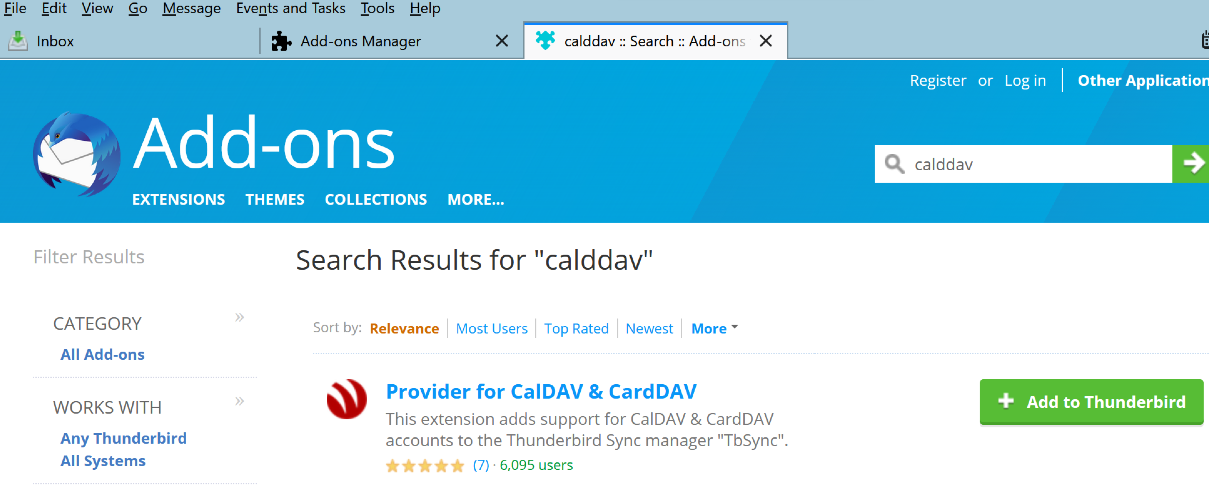
2: Search for "caldav" in the search filed and hit "enter"
3: Select "Provider for CalDAV & CardDAV" with "Add to Thunderbird
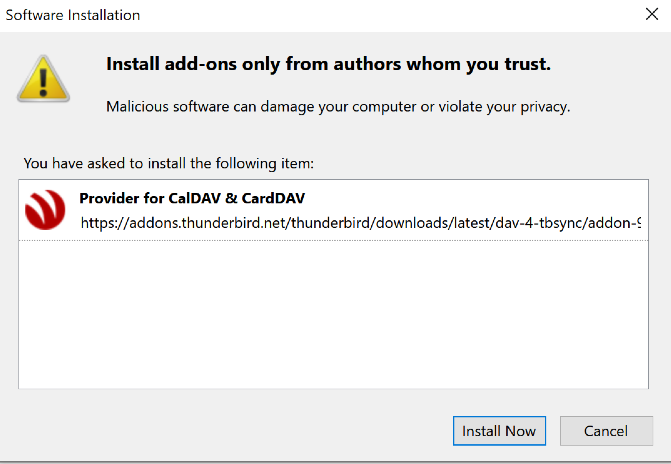
4: Wait and click on "Install Now"
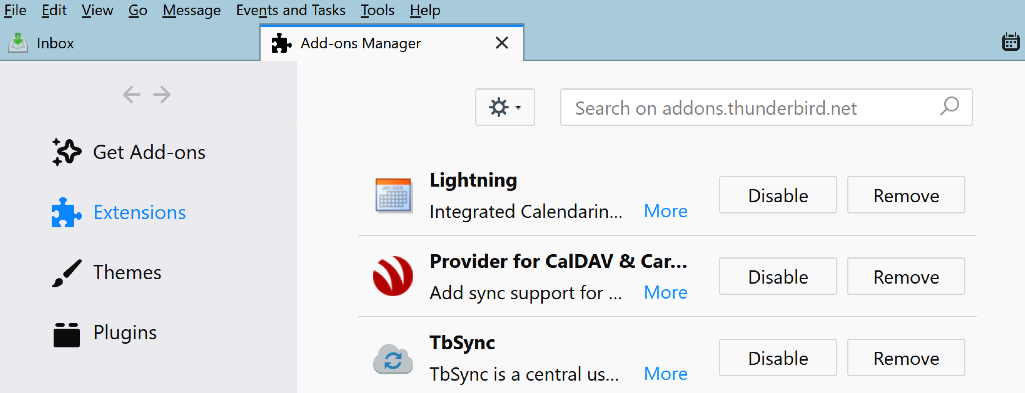
4. Step 3: Check that all required "add-ons" are installed and enabled
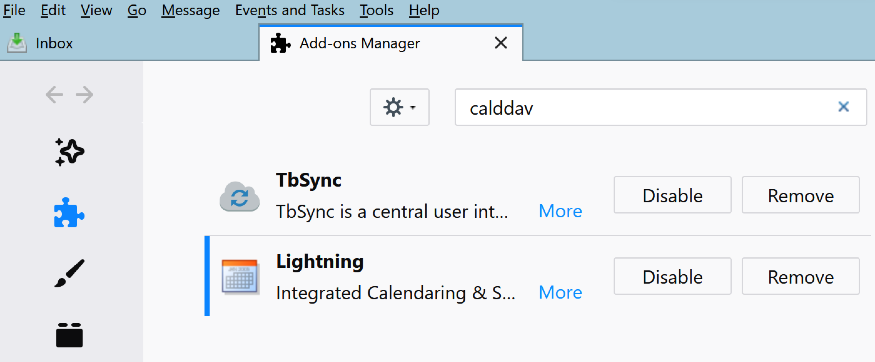
1: Select "Add-ons Manager" from the Tools Tab in Thunderbird
2: All required "add-ons" should be enabled (Lightning,TbSync,CalDAV)
5. Step 4: Configure your KerioConnect account with the help of "TbSync"
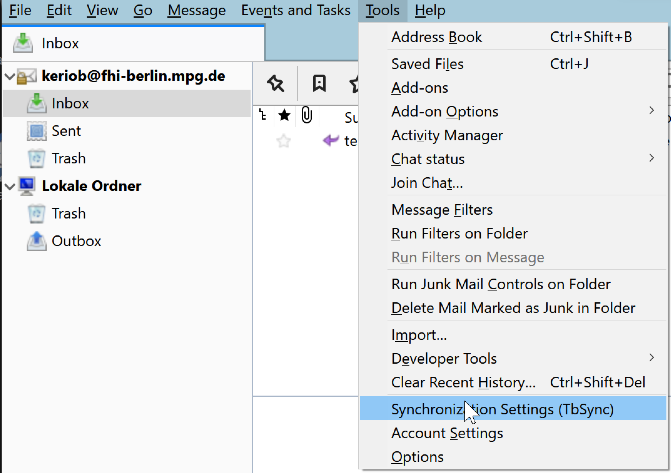
1: Start Thunderbird
2: Select the new menu option "Synchronisation Settings (TbSync)" from the Tools Tab in Thunderbird (this only works if the TbSync module is installed and enabled)
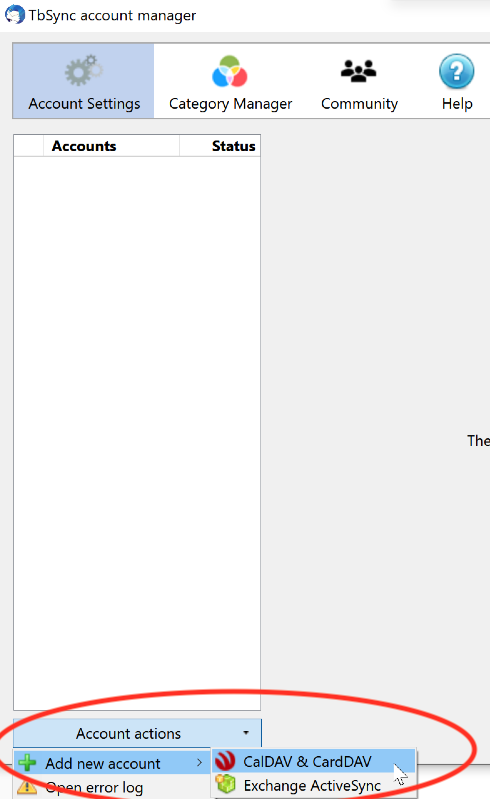
3: Add a new account by select the "Account Action" option in the new window
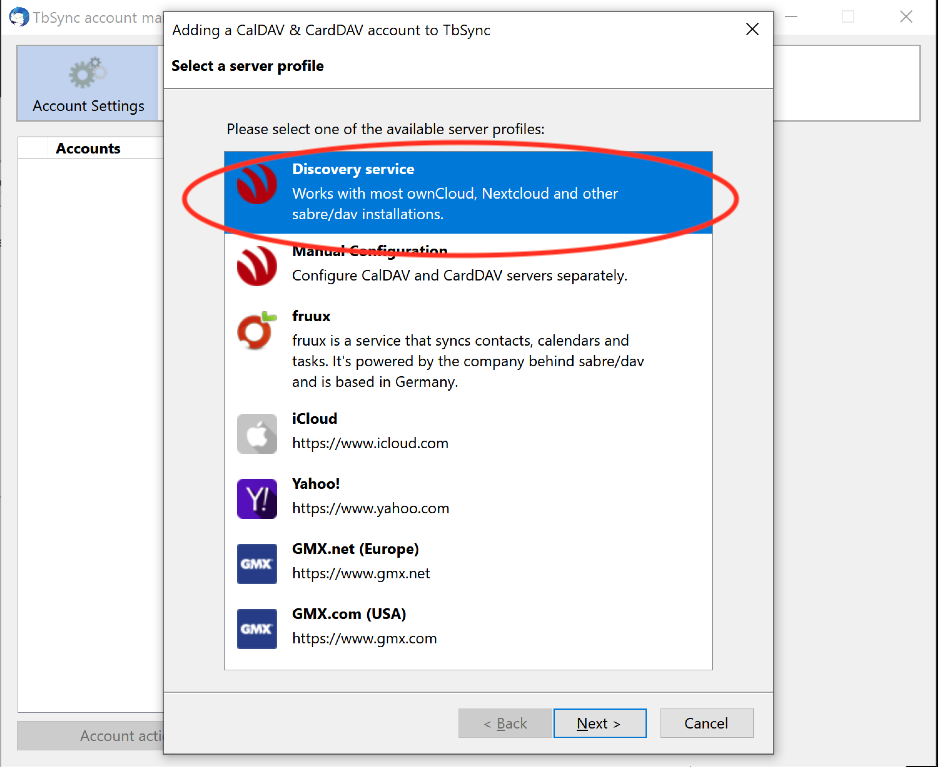
4: Select the "Discovery service" Server profile
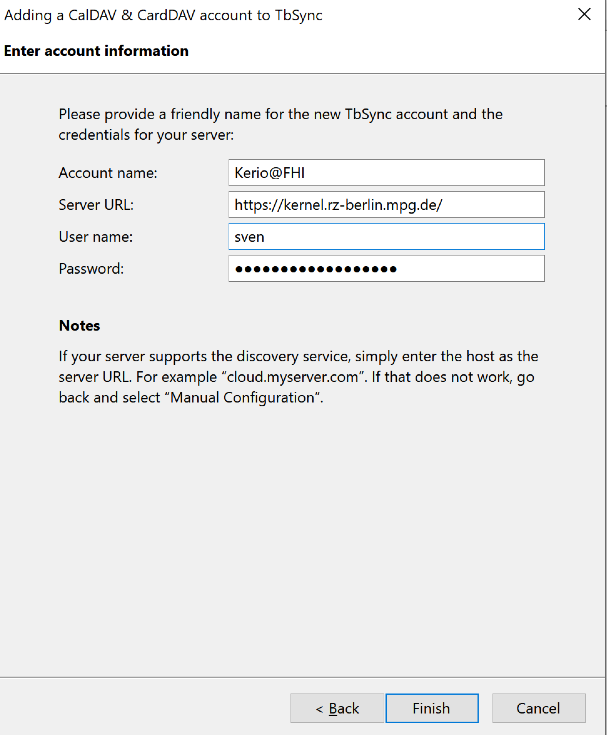
5: Fill out all necessary fields:
Account Name: your choice
Server UR: https://kernel.rz-berlin.mpg.de
User name: your fhi username
Password: your fhi password
Example:
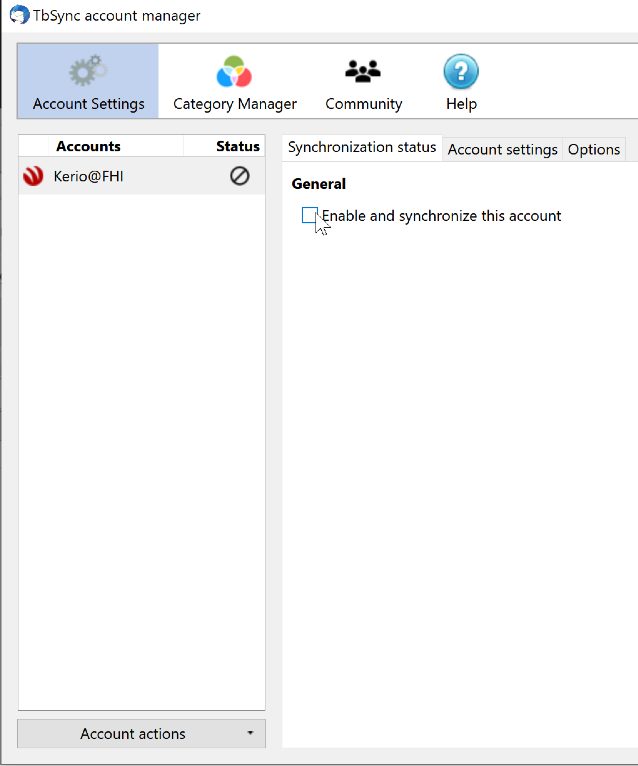
7: Enable your account by check "Enable and synchronise" this account.
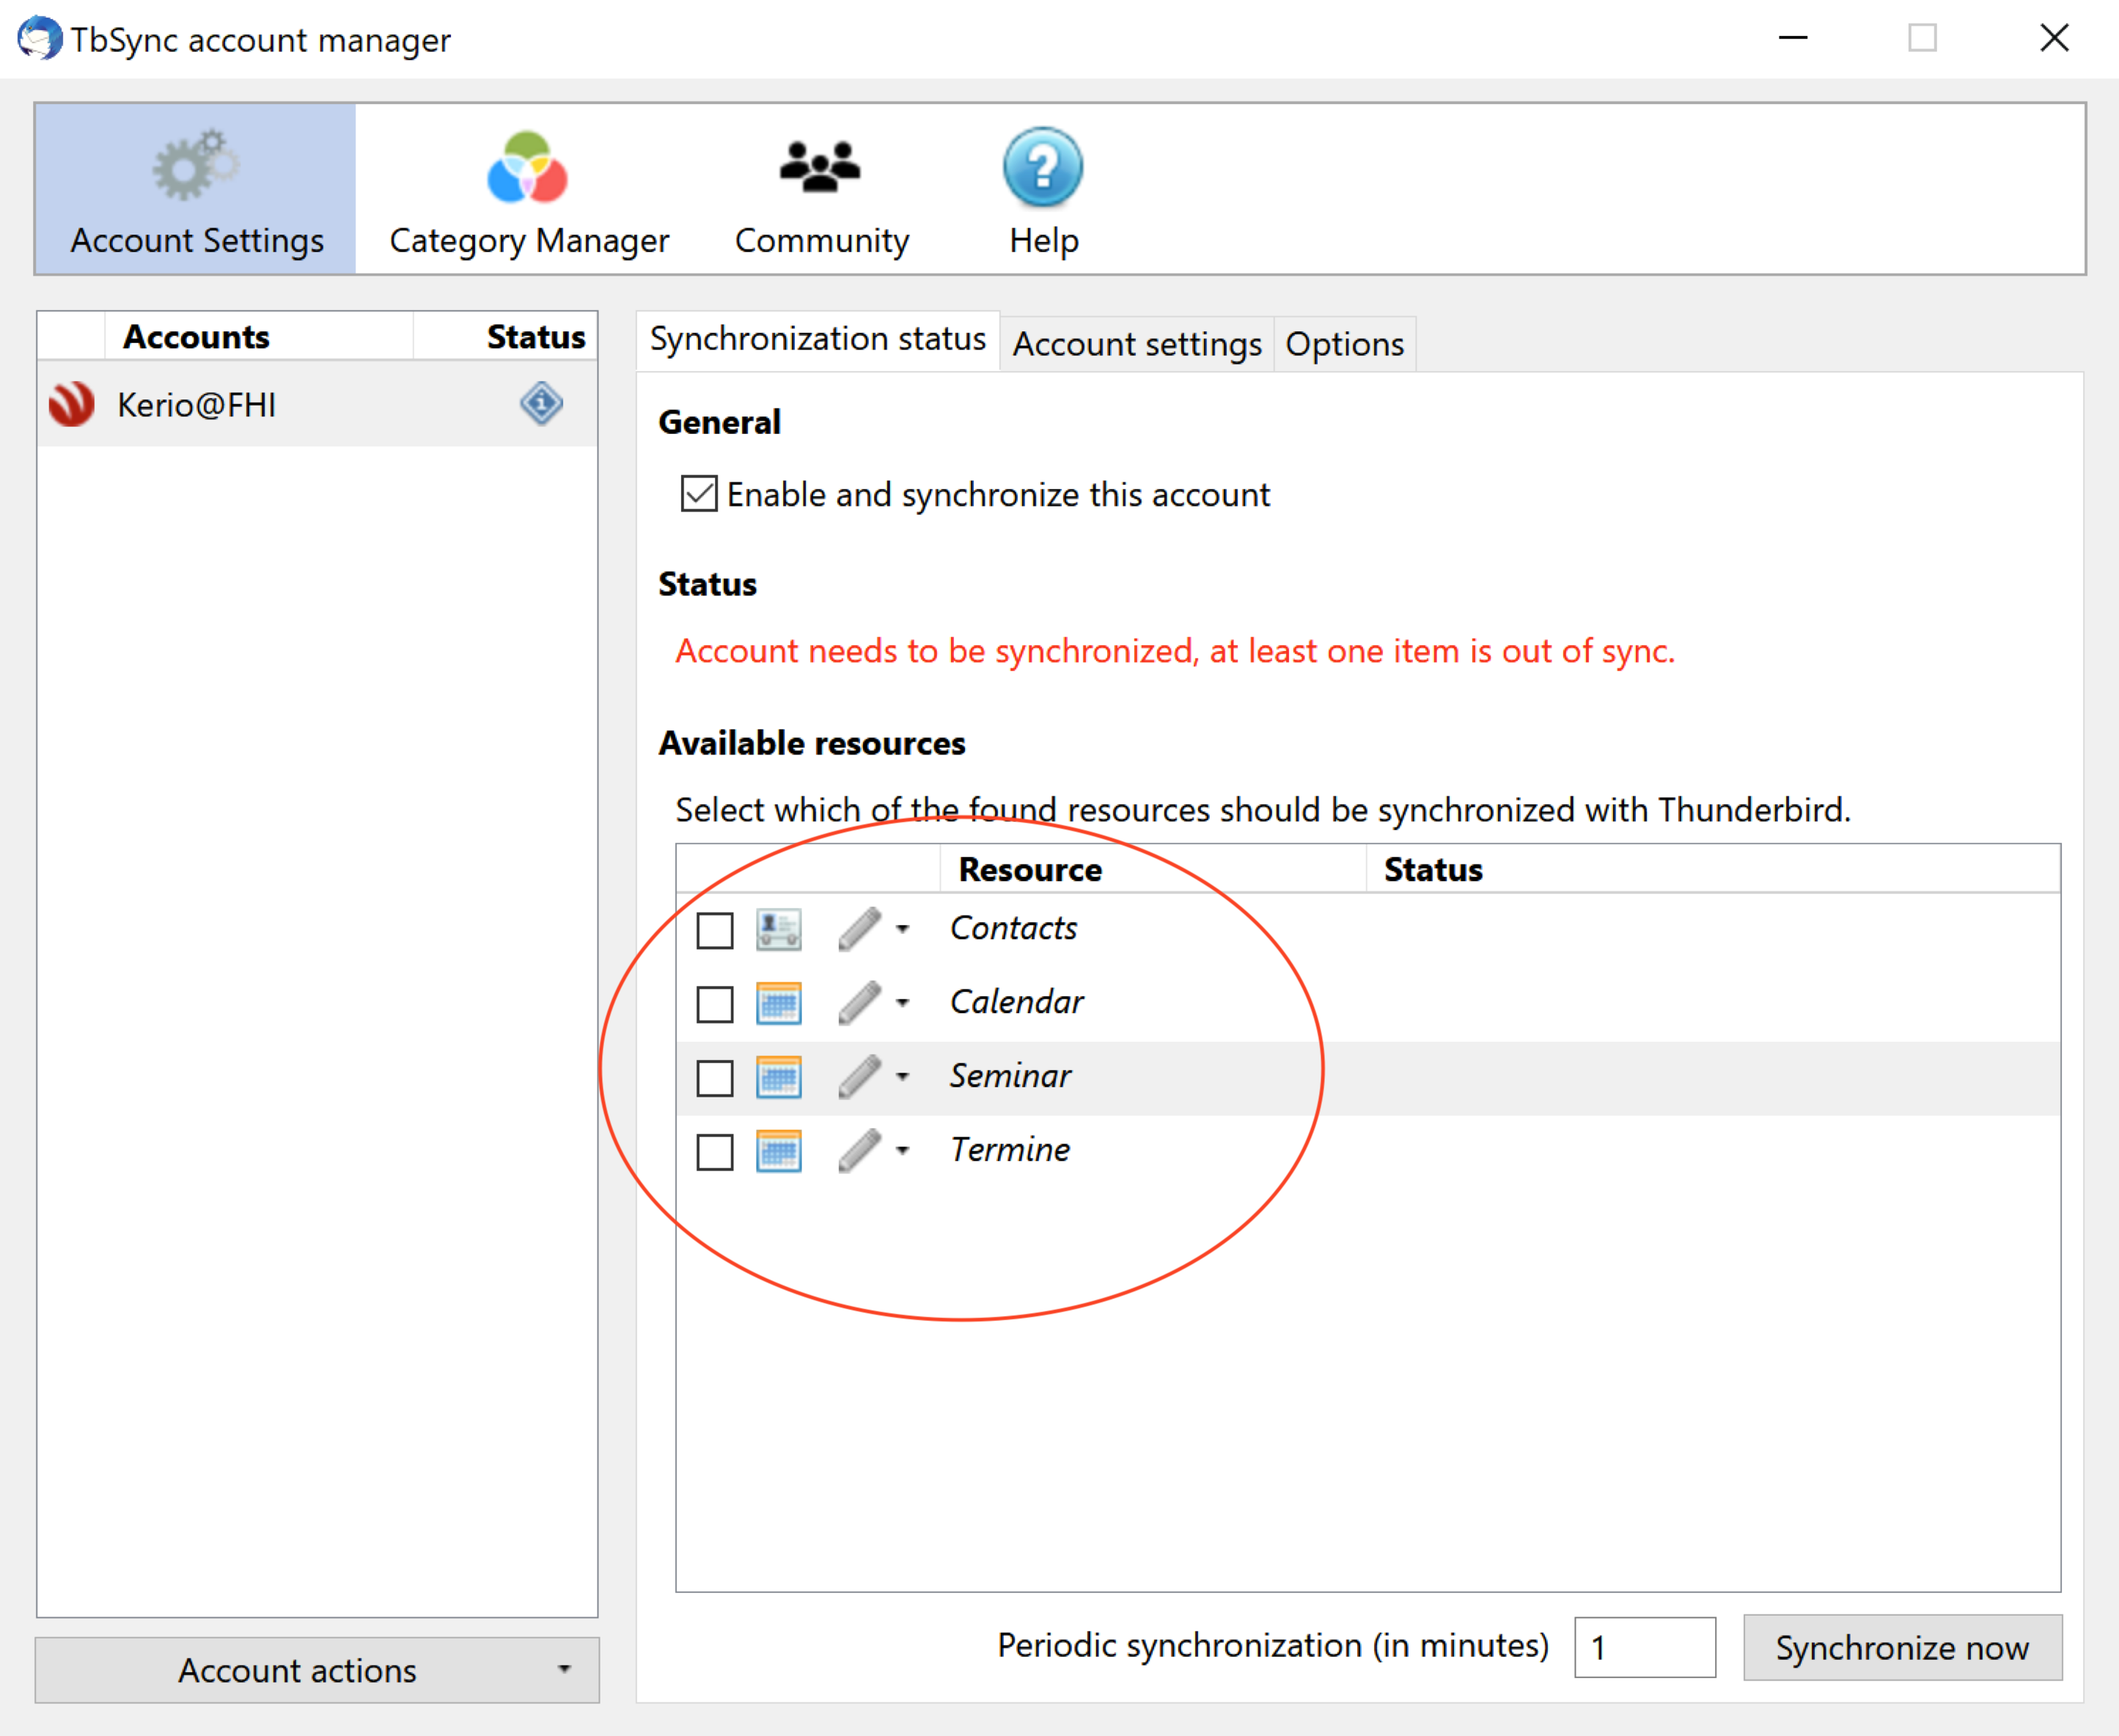
8: Select your or other calendars from "available resources" that you need.
9: Set a "Periodic synchronisation time and click on "Synchronize now"
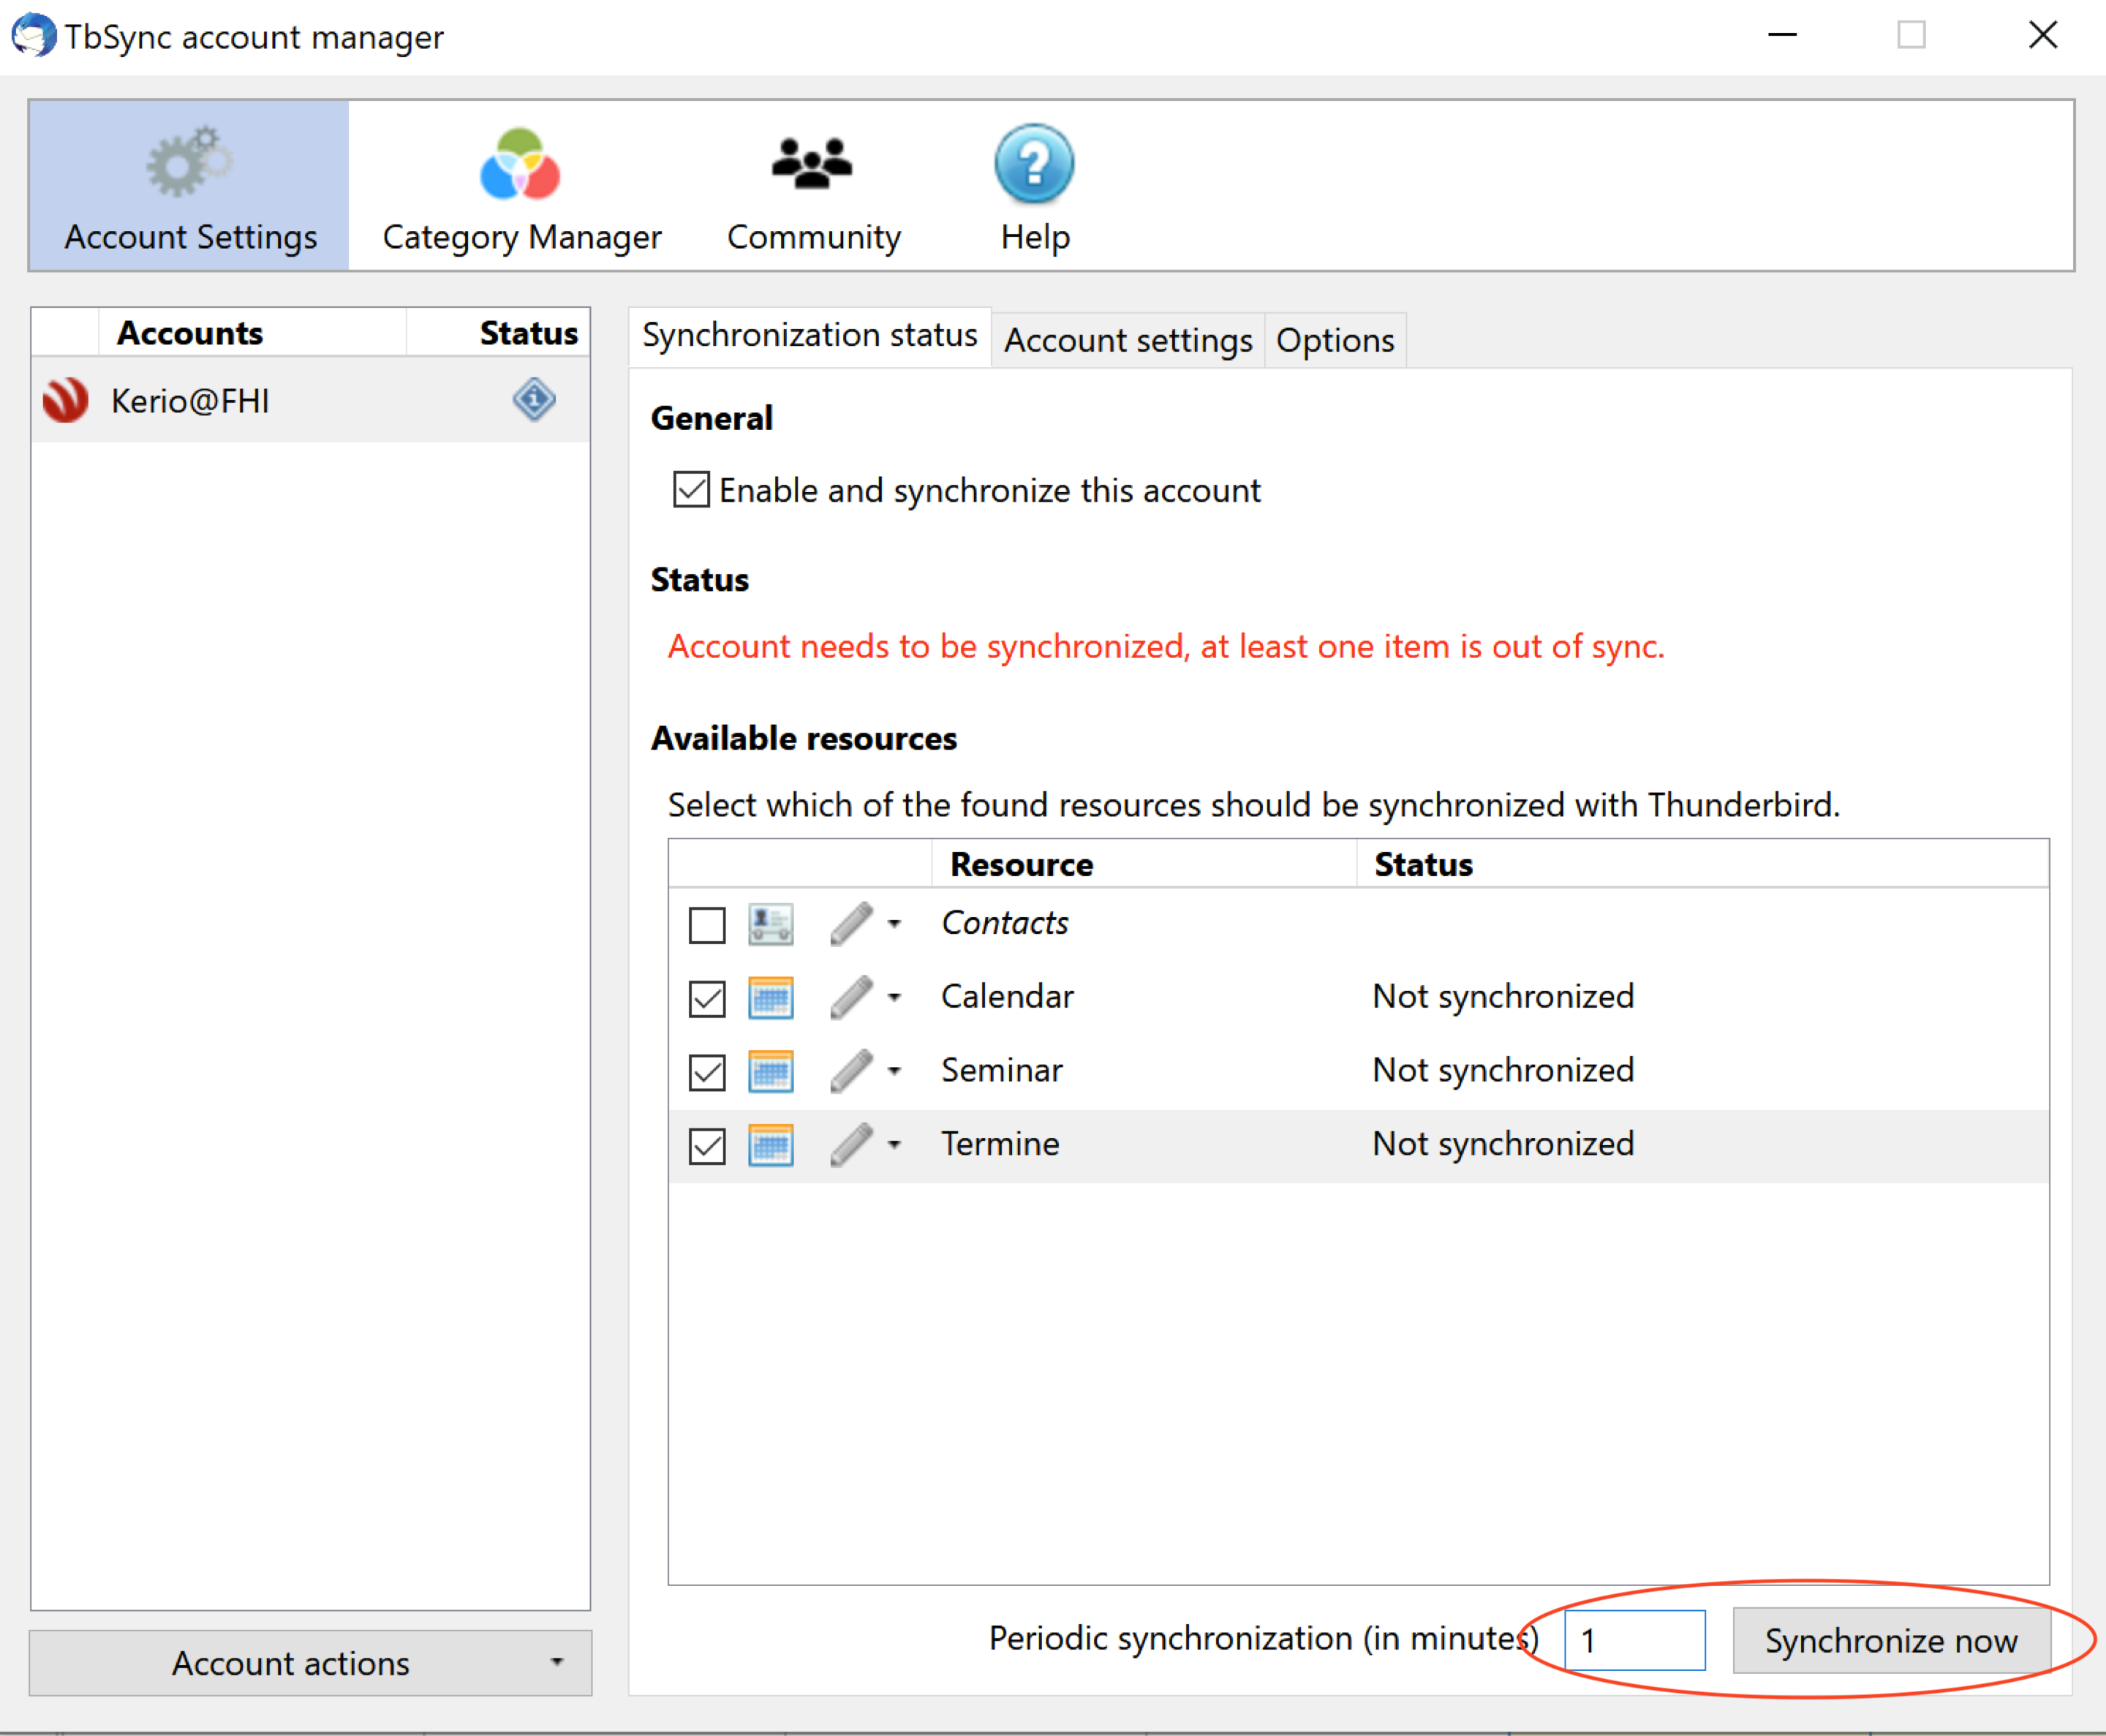
10: The status should now "OK"
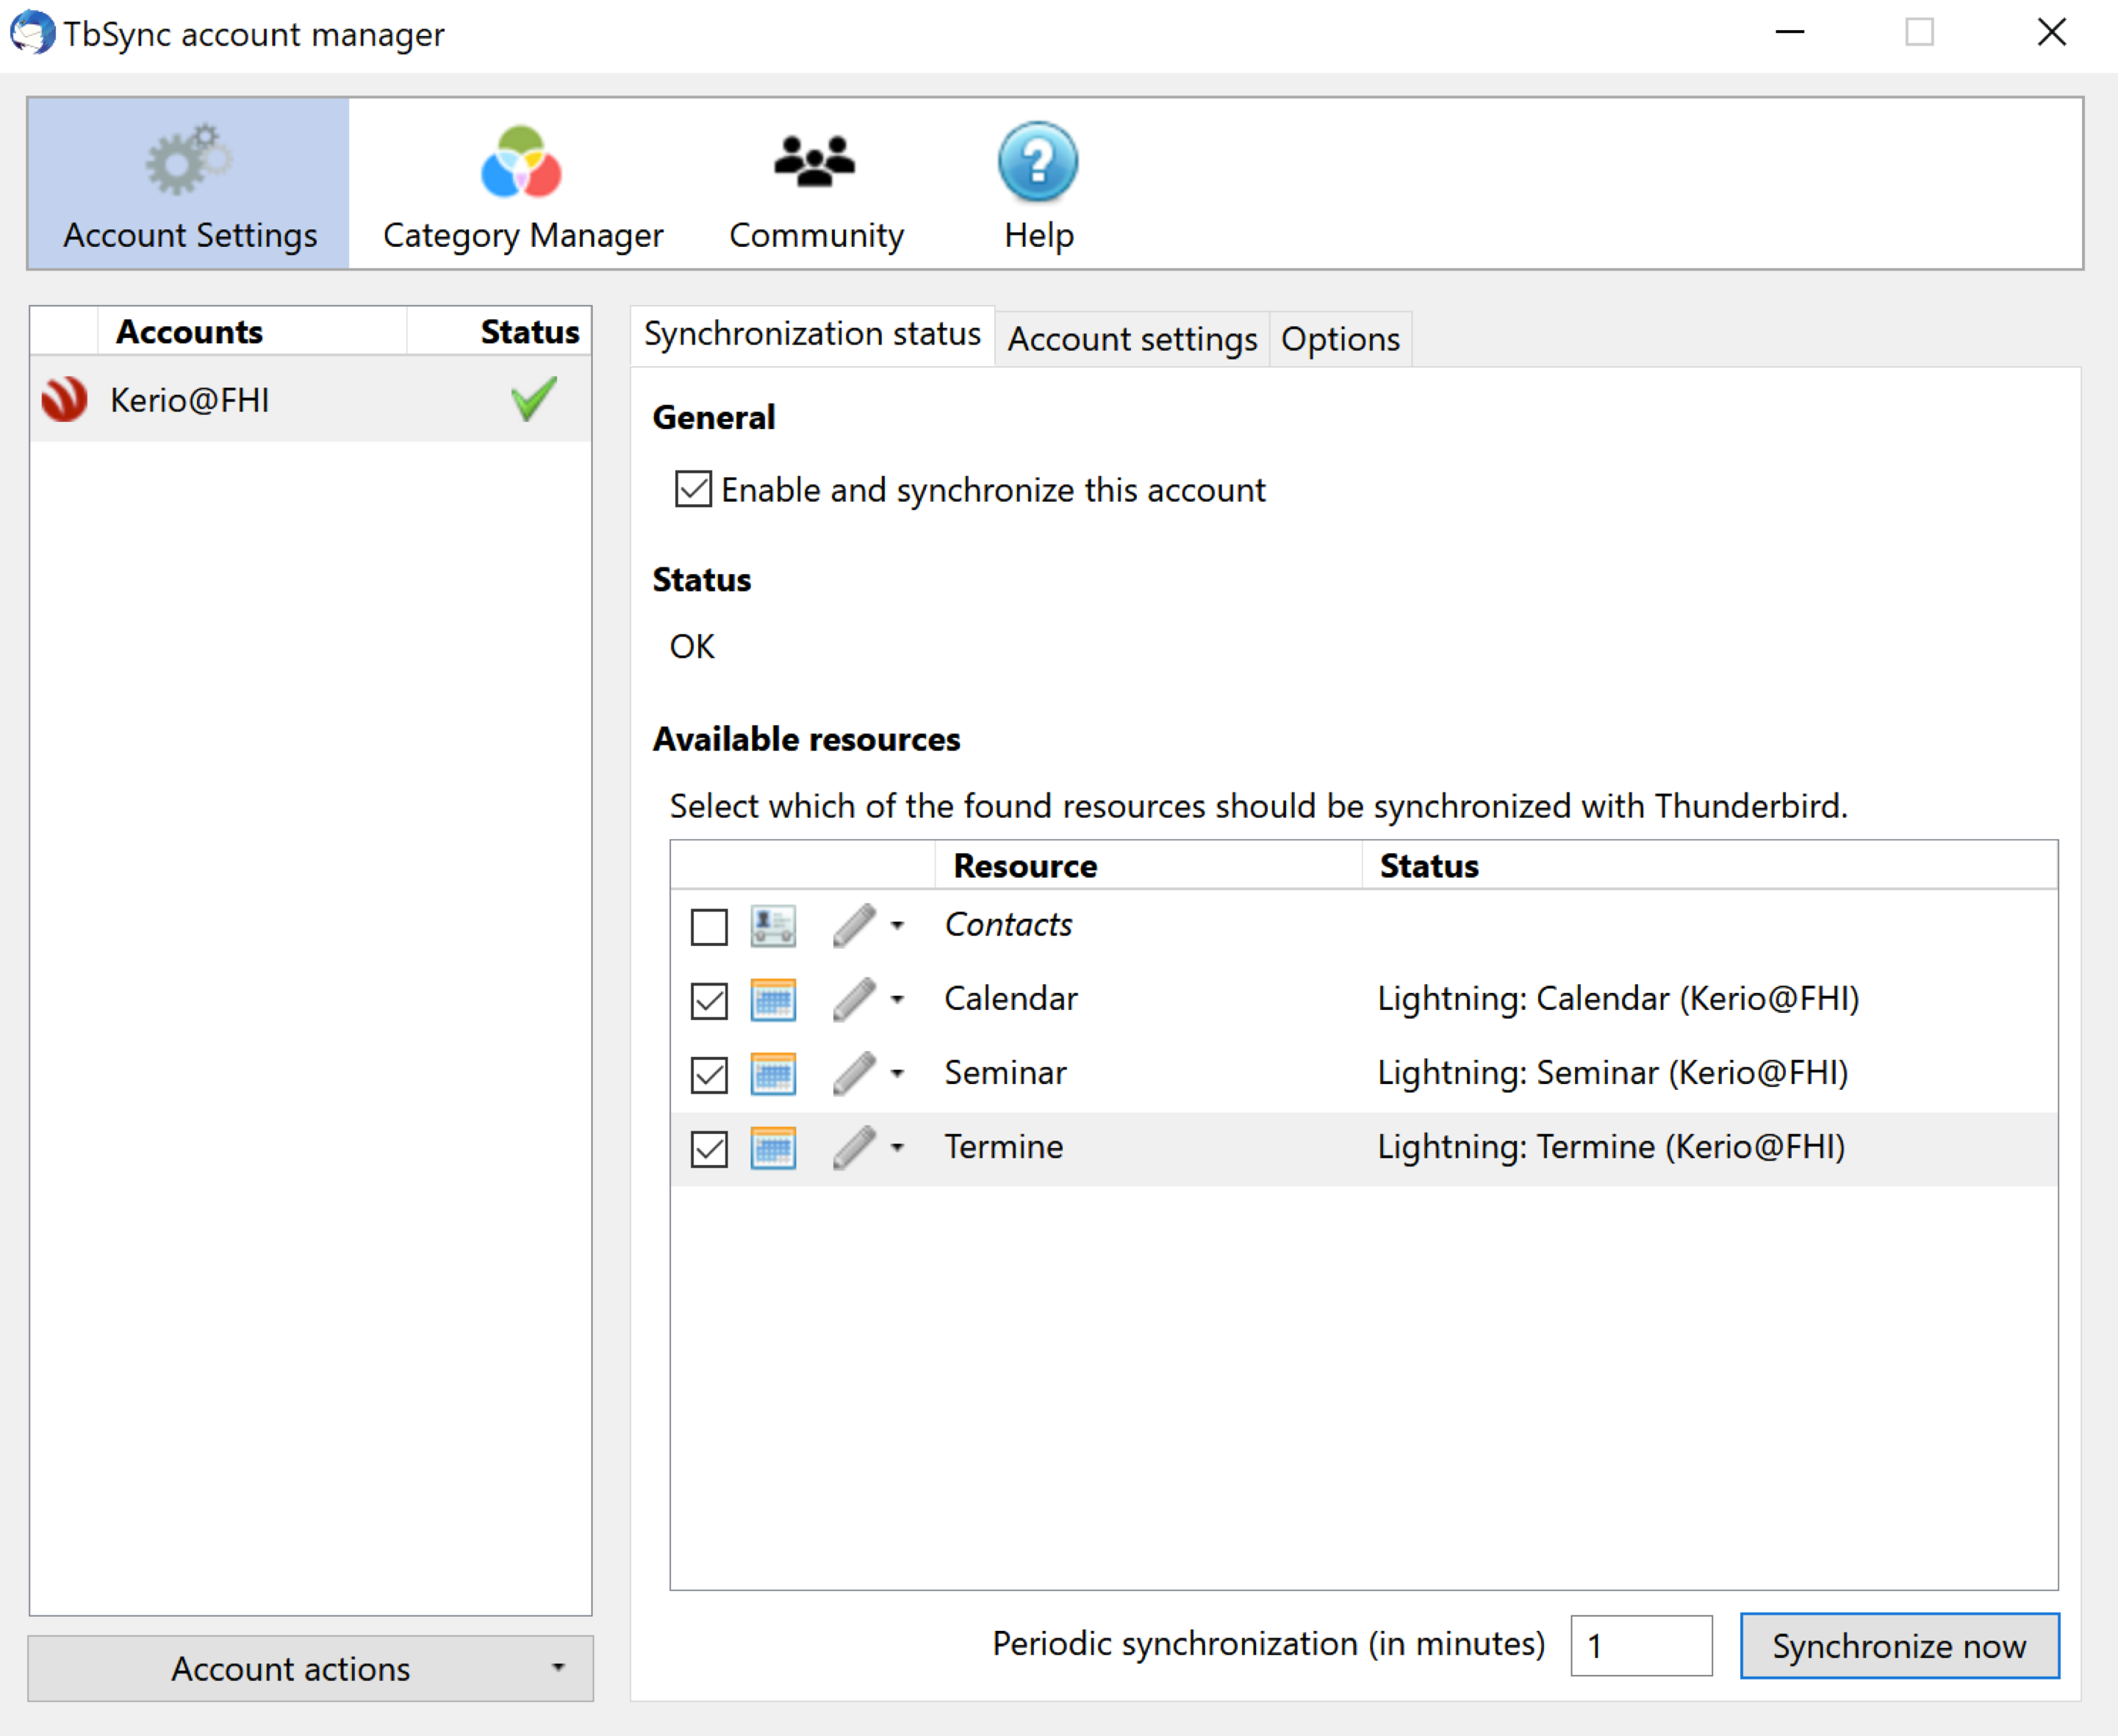
11: All calendars should now be available in "Thunberbird's Lightning"
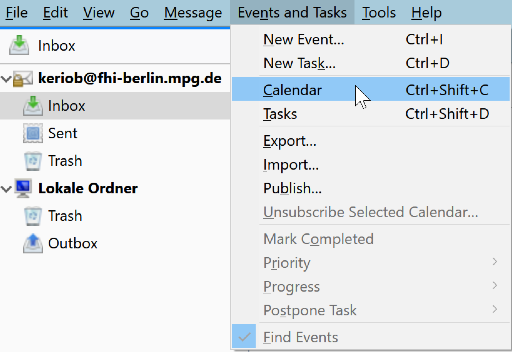
6. Step 5: Check the configured KerioConnect calendars in lightning
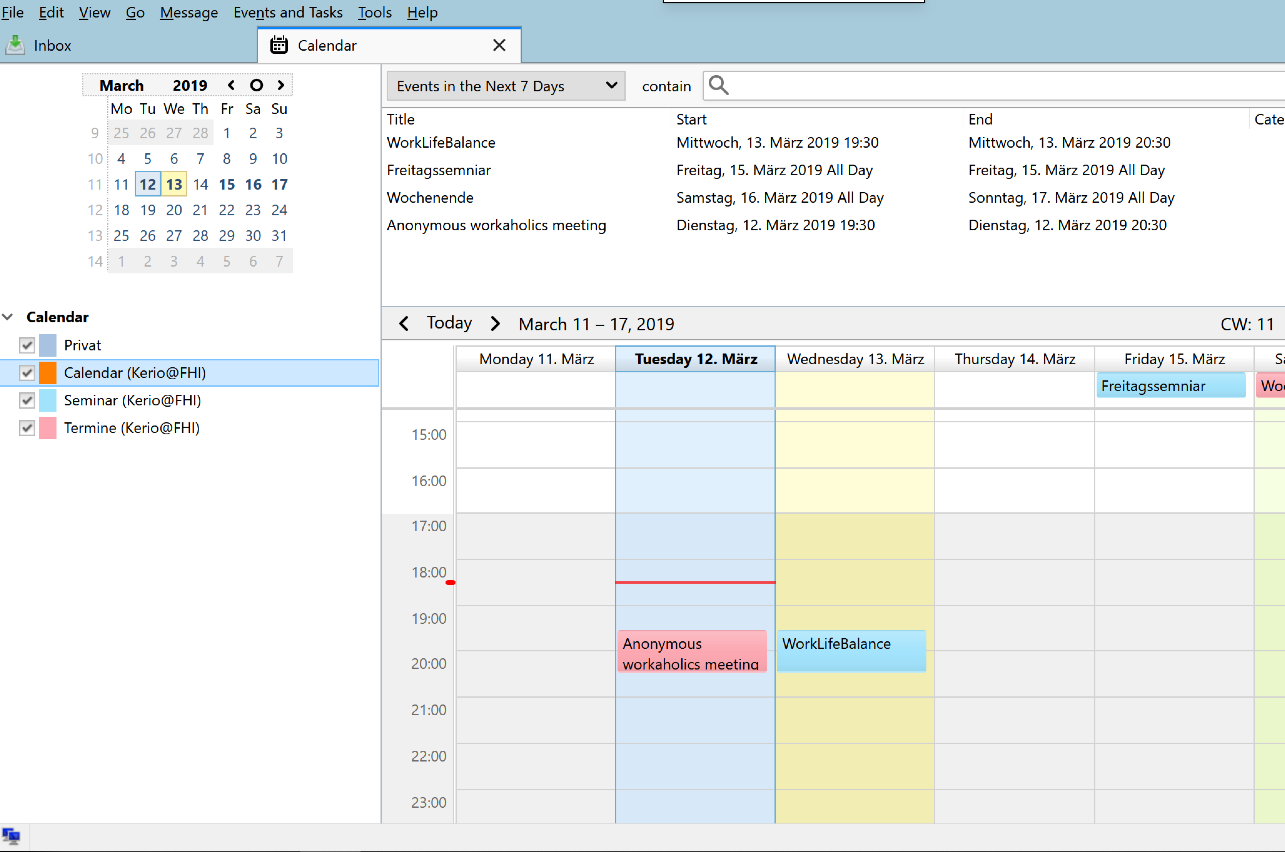
1: Open your calendar tab from the context menu "Events and Tasks" or CTRL+Shift+C
2: All calendars should now be available , and sync correctly.
7. Issues:
7.1 Shared calendar/s missing
- 1: Is the missing calendar displayed in your KerioConenct web interface ?
- 2: If no, please subscribe the calendar now :
Guide : Guide
- 3: if Yes, please also check in the web interface under Settings the "Folders to synchronize" setting , and enable or reenable the missing calendar
- 4: ask us for help
- 5: Check your Thunderbird version (all above 60.x is ok)