Configure KerioConnect Account on MacOS (CalDAV)
Index (hide)
- 1. Configure Calendars under MacOS 13.x or later (2023)
- 2. Manual Contacts/Adress Book configuration OSX 10.9.2 or later (CardDAV)
- 3. Automatic configuration with Kerio-Connect Account Assistant OSX 10.6.x to 10.8.x (10.9.x is broken )
- 4. OLD: Manual Calendar configuration on OSX 10.9.2 or later ( CalDAV )
1. Configure Calendars under MacOS 13.x or later (2023)
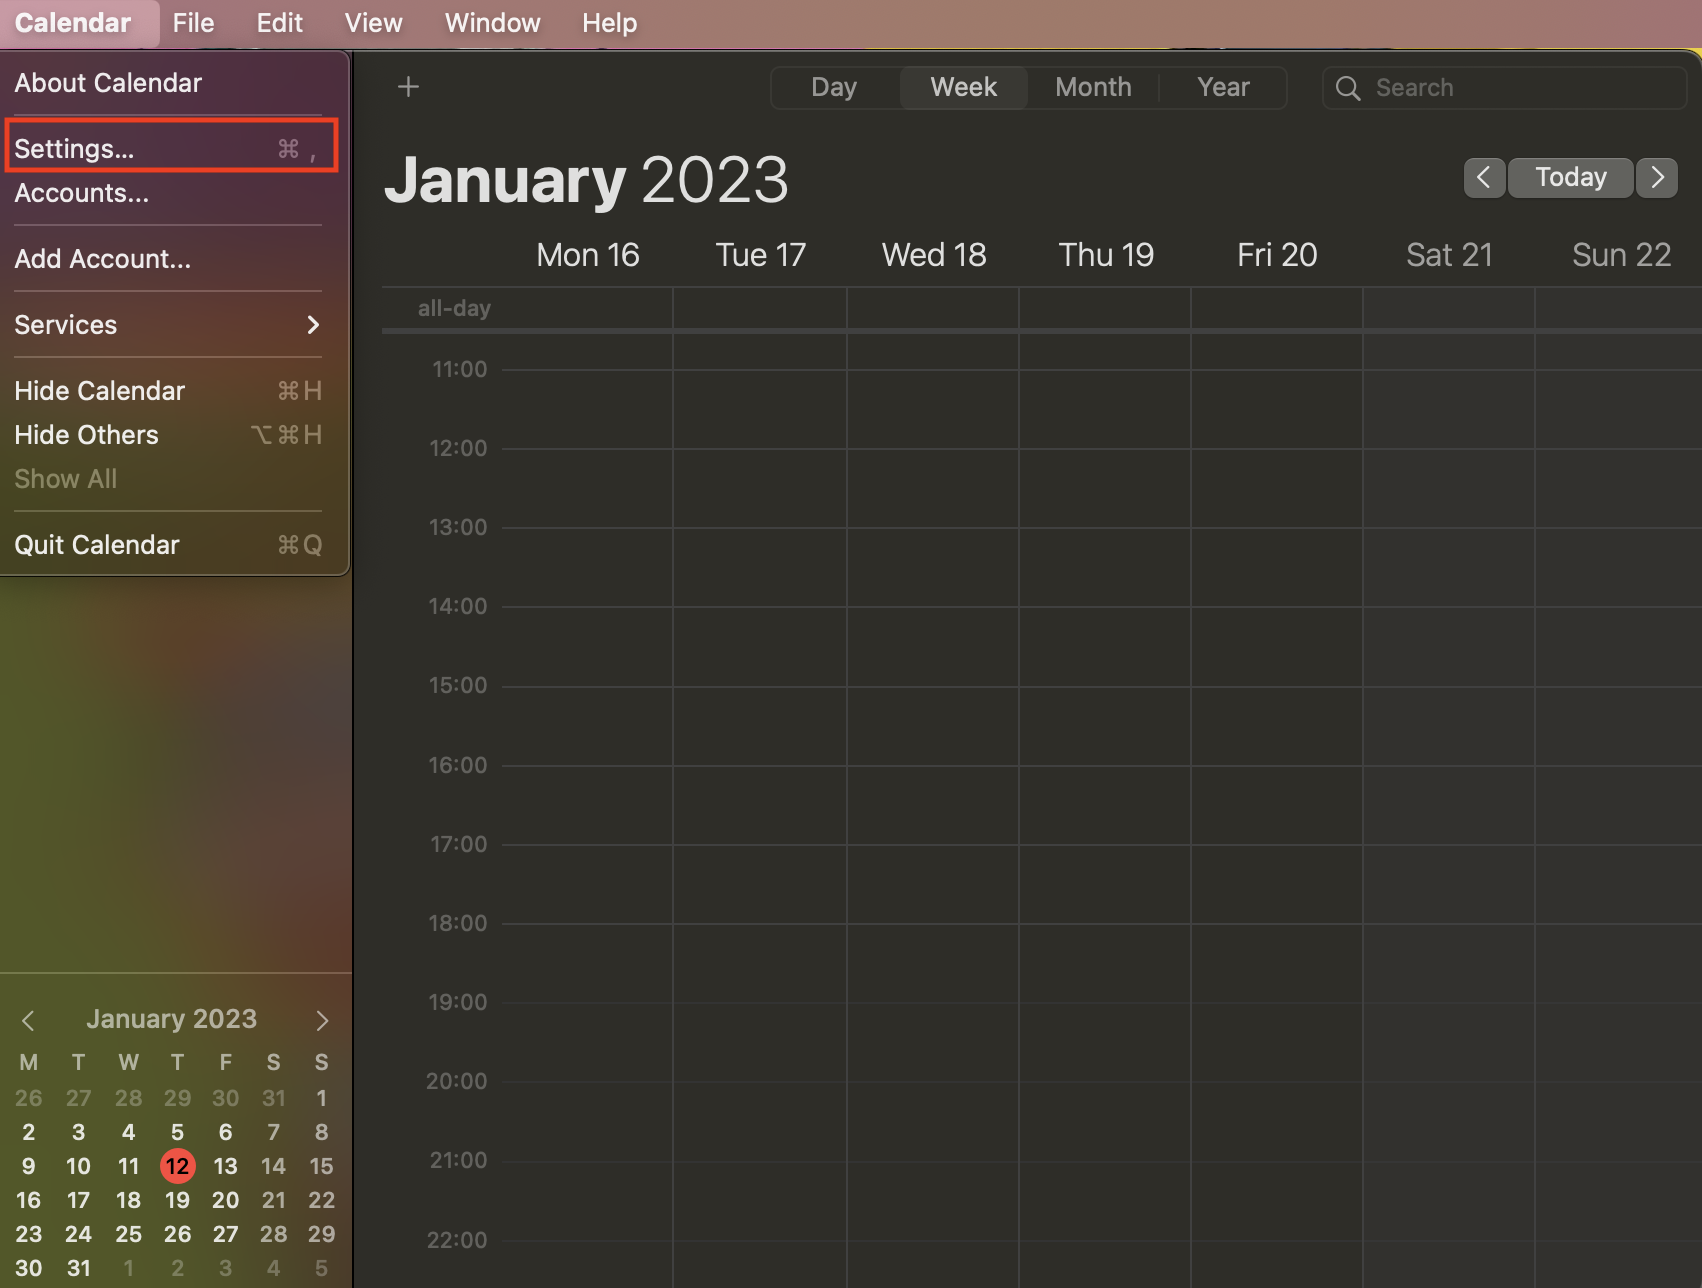
1.) Start your Apple Calendar application
2.) Select "Calendar -> Settings
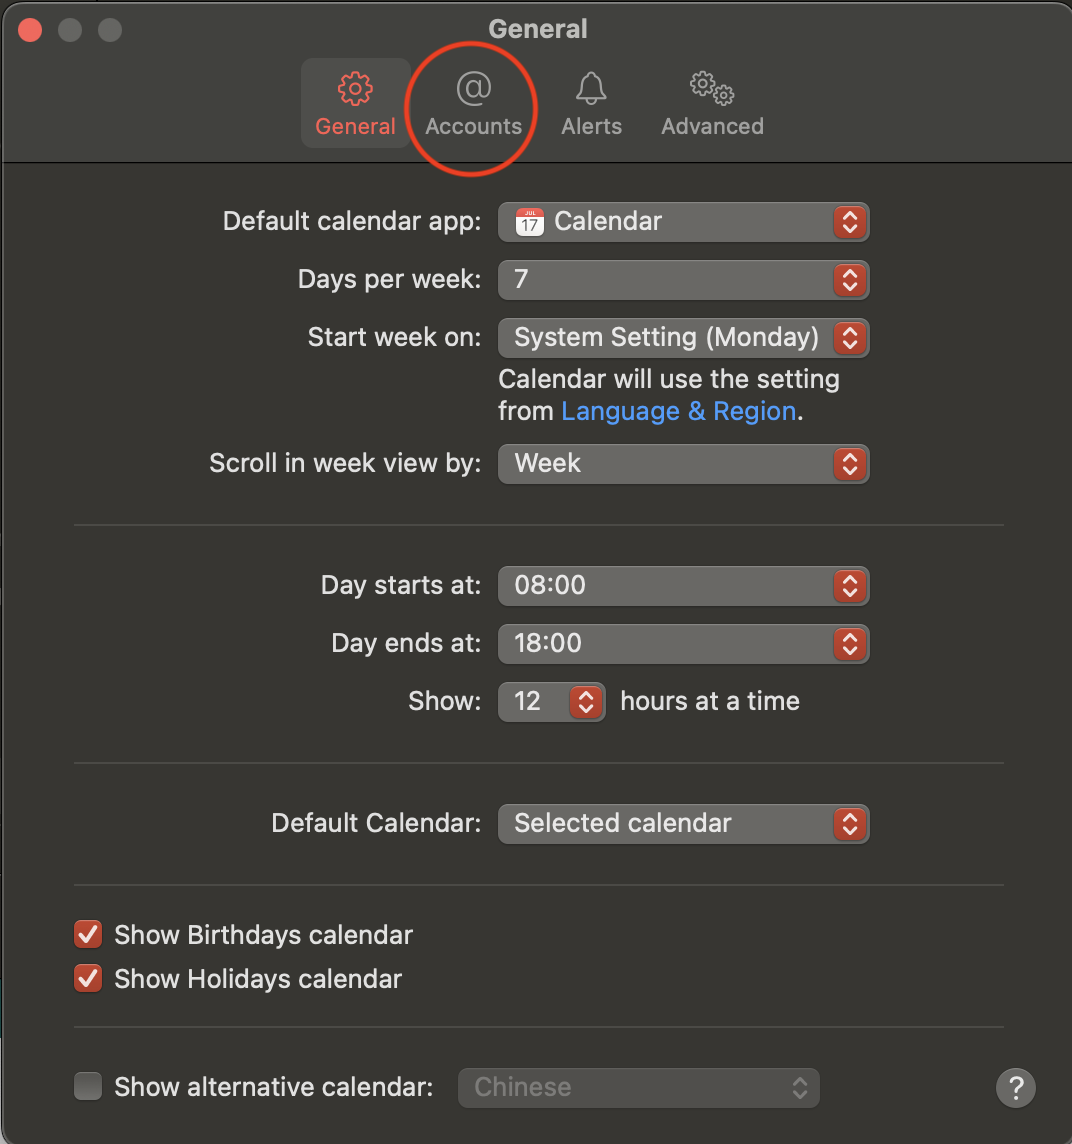
3.) Select Accounts
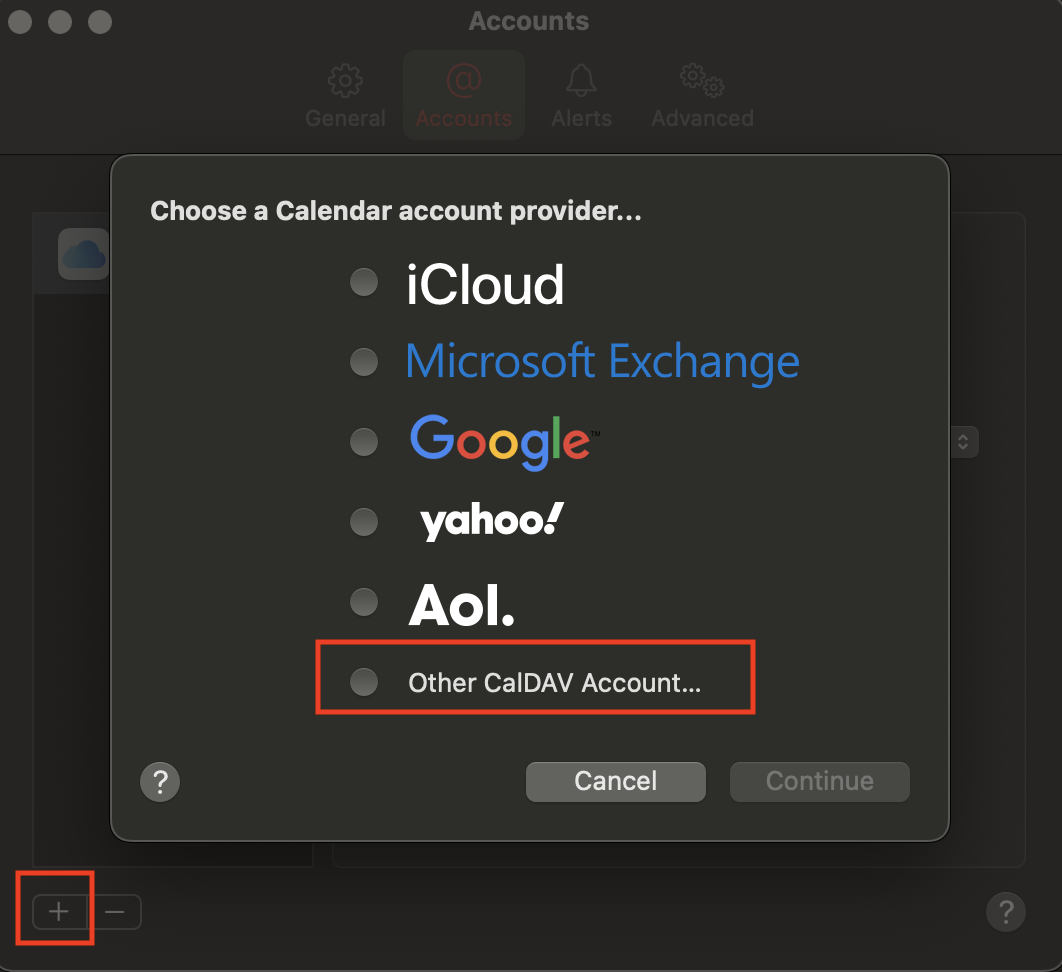
4.) Use the Plus "+"to add an account and select "Other CalDAV Account .."
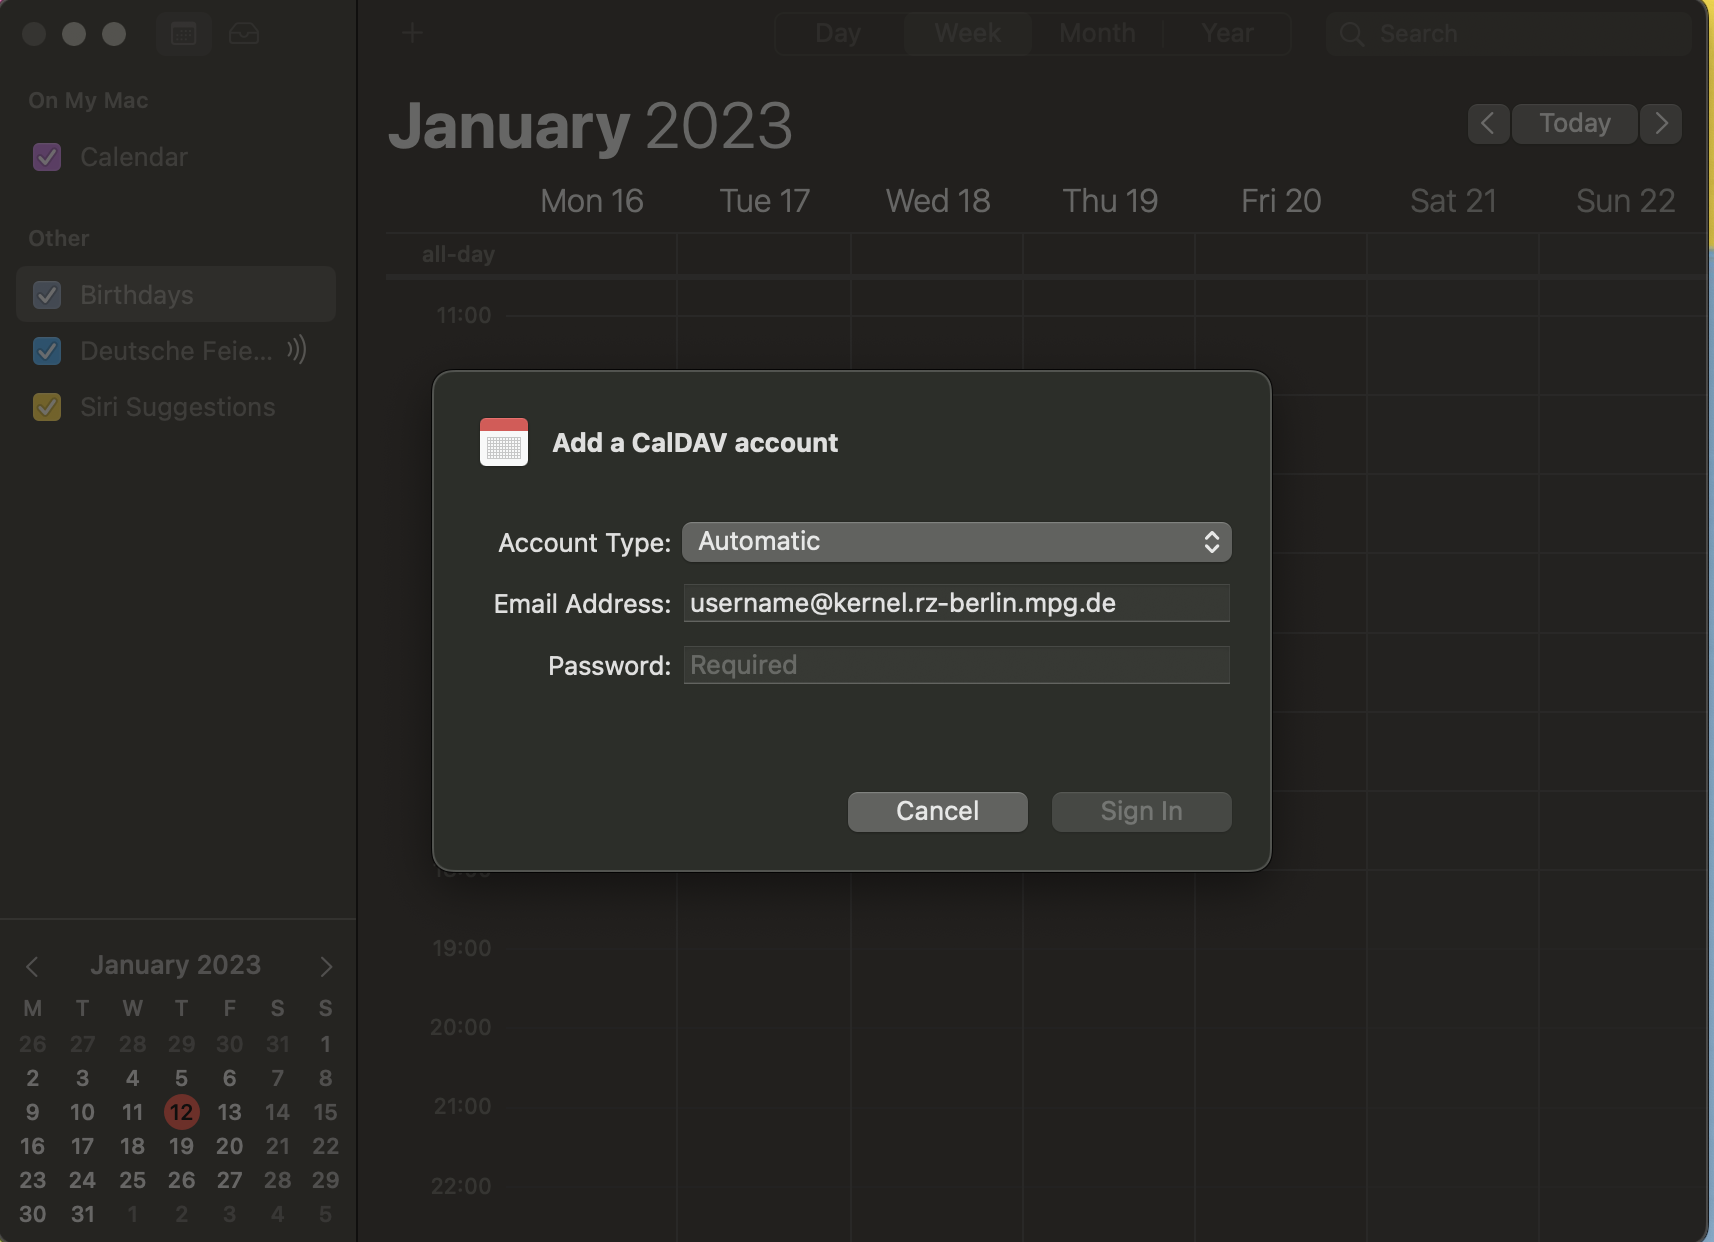
5.) Insert your Kernel Username and FHI Password (example) and Sign in
Username: username@kernel.rz-berlin.mpg.de
Password: Your FHI Password
6.) Your calendars should now appear in Apple Calendar
//Version 2023
2. Manual Contacts/Adress Book configuration OSX 10.9.2 or later (CardDAV)
1. Start the Apple Address Book application Contacts.
2. In the menu, select Contacts→ Preferences and go to tab Accounts.
3. Click on the + button to create a new account.
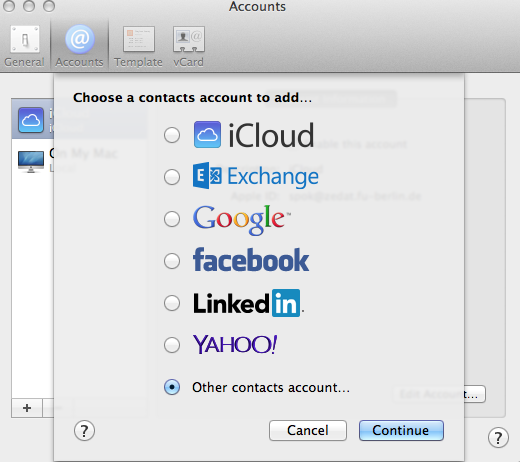
4. Click on "Other contacts account.." (see picture)
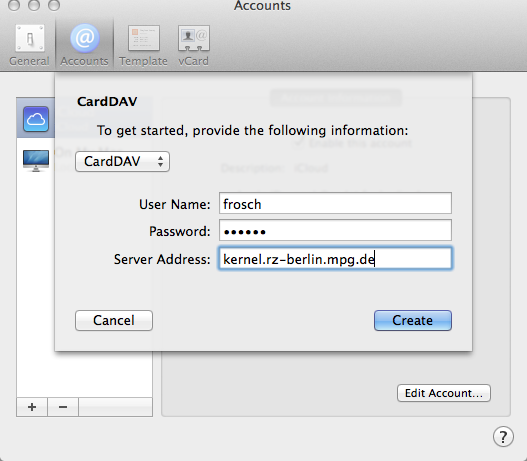
5. Type your credentials and the server name "kernel.rz-berlin.mpg.de (see example picture)
3. Automatic configuration with Kerio-Connect Account Assistant OSX 10.6.x to 10.8.x (10.9.x is broken )
Note: Kerio Connect Account Assistant is a single autoconfig tool which enables one-time auto-configuration of the following applications on Mac OS 10.5 or newer:
- Apple Mail - Apple iCal/Calendar - Apple Address Book/Contacts
Kerio Connect Account Assistant is unique for each user. Therefore, it is necessary to download it from your own integration page.
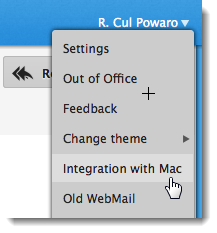
1. Click your name in Kerio Connect client and select Integration with Mac
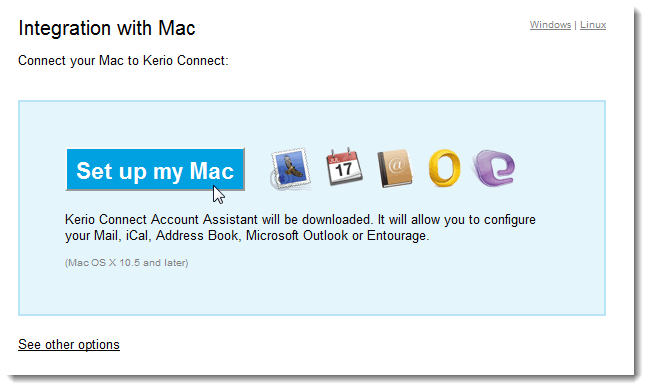
2. Click on Set up my Mac and download Kerio Connect Account Assistant to your macintosh.
3. Once the download finishes, the installation program gets started — confirm installation and run it.
4. Select which products installed on your computer to configure (you can configure any of them later) and Continue.
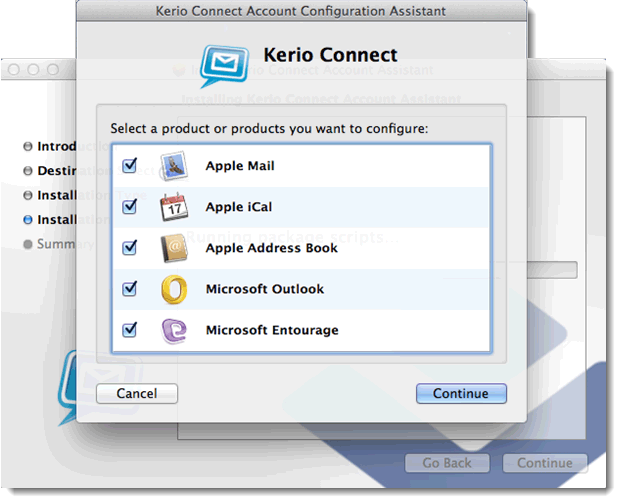
5. Enter your Kerio Connect user account password and Continue. (Username@kernel.rz-berlin.mpg.de) Now the configuration application verifies your identity and server connection.
6. Click on Configure to run configuration of the selected applications.
OLD:
4. OLD: Manual Calendar configuration on OSX 10.9.2 or later ( CalDAV )
1. Start the Apple iCal/Calendar application.
2. In the menu, select iCal/Calendar→ Preferences and go to tab Accounts.
3. Click on the + button to create a new account.
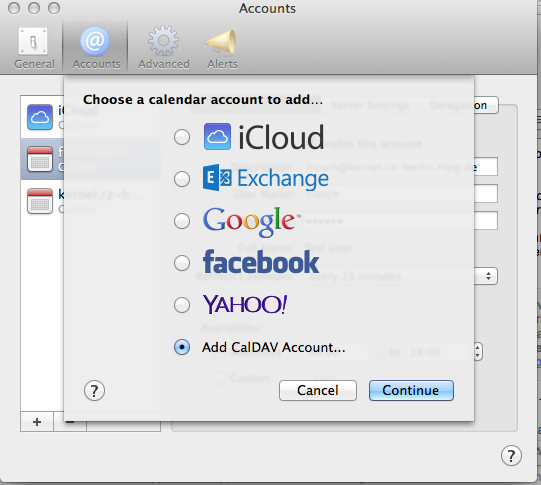
4. Click on "Add CalDAV Account.." (see picture)
5. Type your credentials. (see example picture)
- Note: With Account type Automatic: use "USERNAME@kernel.rz-berlin.mpg.de"
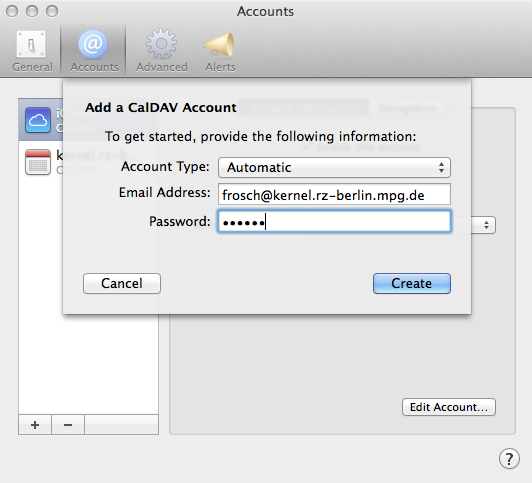
6. Click on "Create" to finish the configuration.